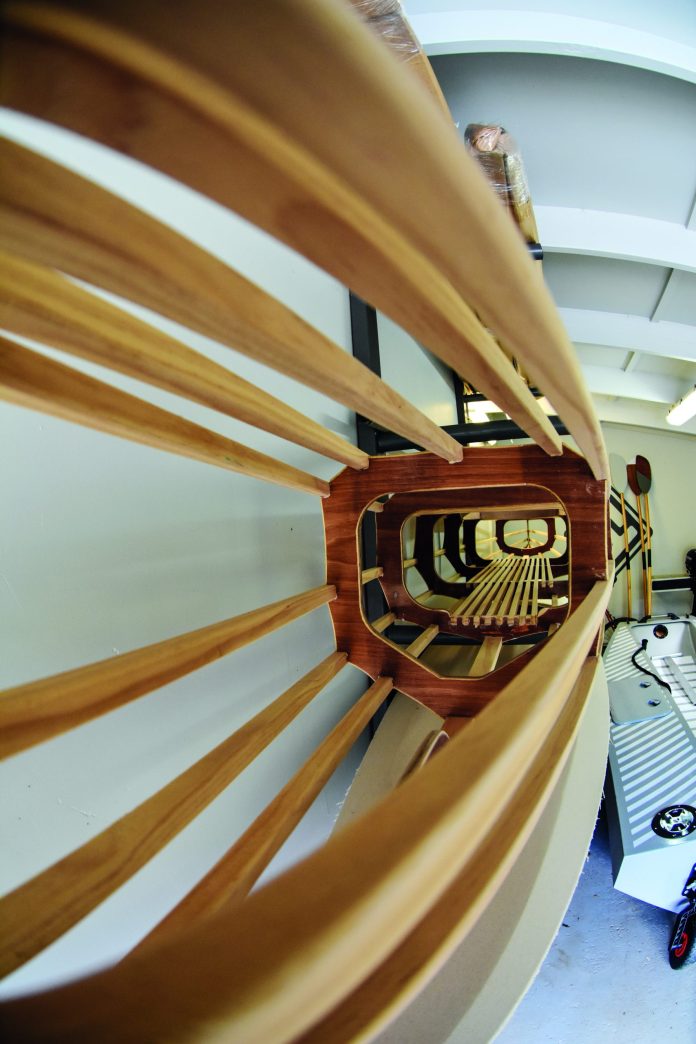
The design of recreational boat windows has evolved over the years, as have the materials used.
Older boats generally had glass windows held in by a rubber seal that was forced tightly into the gap between glass and hull. This gasket was then locked in place with a hard plastic insert, and these were extremely hard to install. They also required a rounded window shape without any sharp corners and required the cabin wall to be thin, as is the case with fibreglass or aluminium sheet. This method did not allow for the window to open, but on the positive side they were cheap.
If the design called for a window with corners, then a frame was required to hold the window in place. These were generally made of aluminium or wood. Adding that frame meant that an opening window could be engineered, either by sliding the pane of glass along a channel or by adding a hinge to the frame so the window could be swung open. Aluminium extrusion can be bent to accommodate rounded corners or curved cabin sides, and these became, and are still, the mainstay of marine window design. The frames themselves are generally screwed, rivetted or bonded to the hull and can be single channel or comprise two parts that are bolted together with the glass sandwiched between them.
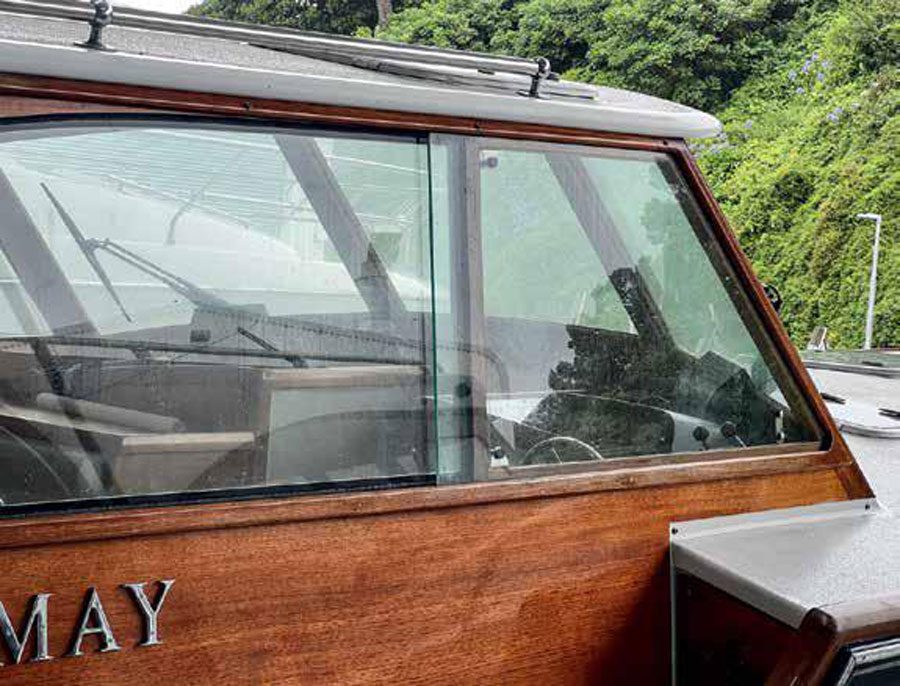
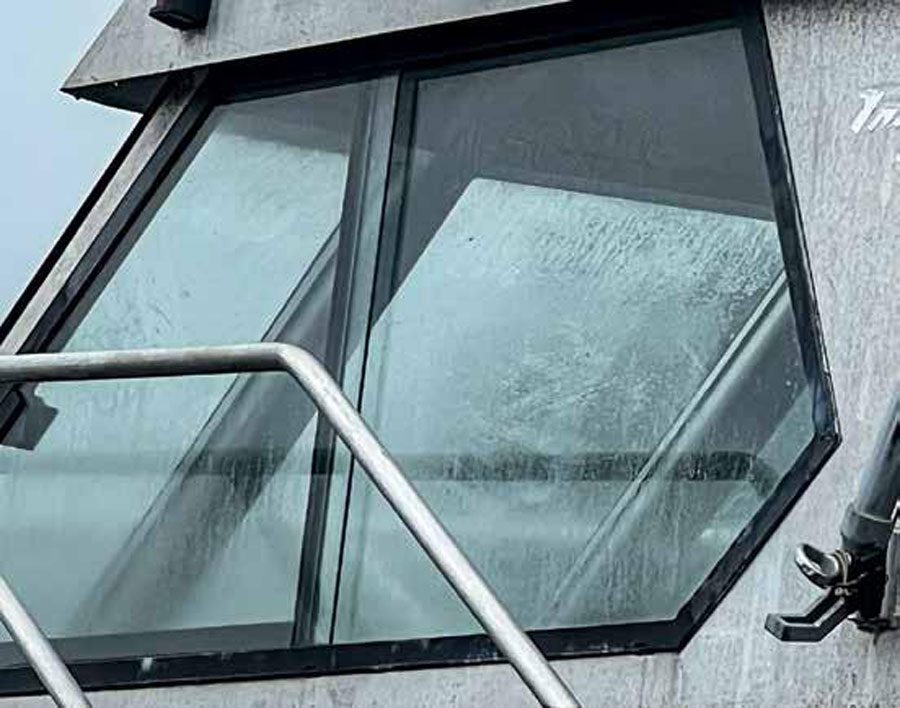
In the 1980s a range of plastics started to become available, and tinted acrylic became the material of choice for boat windows. Cheaper and lighter than glass, it is claimed to be nine times stronger and is much easier to work with. It can also be curved after heating up slightly, so complex curved windscreens became all the rage. While a curved window is also possible in glass, this comes at a much higher cost. Acrylic won’t disintegrate like glass if it gets broken, but it will discolour and ‘craze’ over time and therefore needs replacing every 10 to 15 years.
At the same time we began to switch from glass to plastic, adhesives were improving in leaps and bounds, and it became possible to stick a complete window to the side of the cabin without any frame whatsoever. This has led to ‘frameless’ designs, and numerous European yacht manufacturers now standardly supply sleek low-profile windows glued into a recess that has been moulded into the cabin sides. Even basic runabouts and aluminium-hulled work boats often have bonded windows, for reduced cost and simplicity of installation. And even if frames are used, in some cases the frames themselves are bonded in rather than screwed or bolted in place.
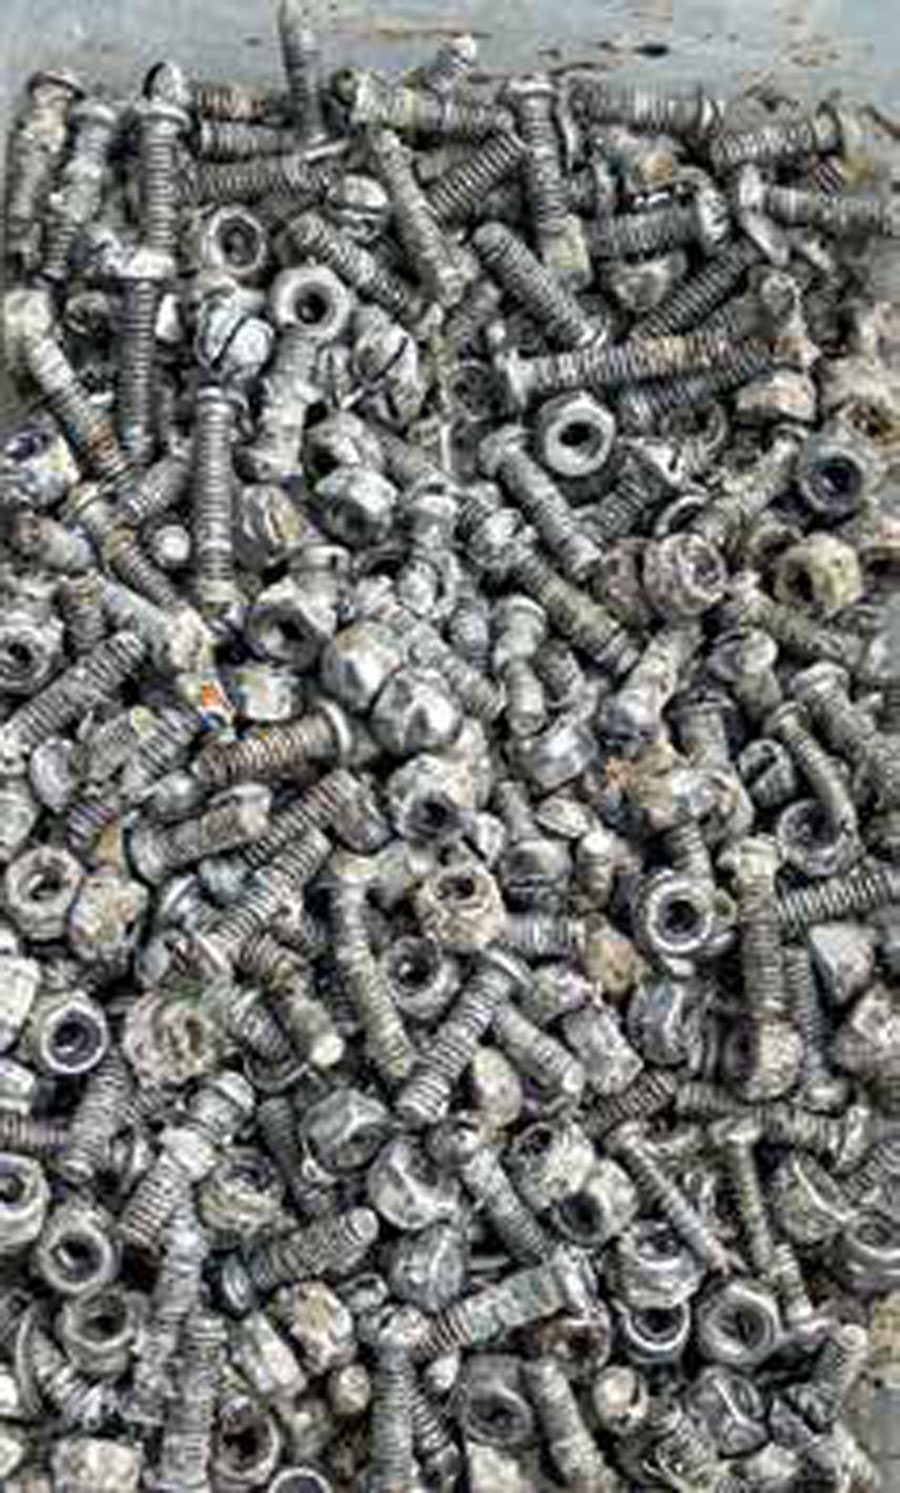
The original windows on Divecat were all framed, and the aluminium frames were bolted in with a total of 318 small bolts with Nyloc nuts (yes, I counted them as I undid them one by one!). For the front windows we decided to reuse the existing armoured glass panels and install a similar system. Next month we will replace the side windows with glued-on tinted acrylic, but the appalling Auckland weather in January has forced a delay in that part of the project.
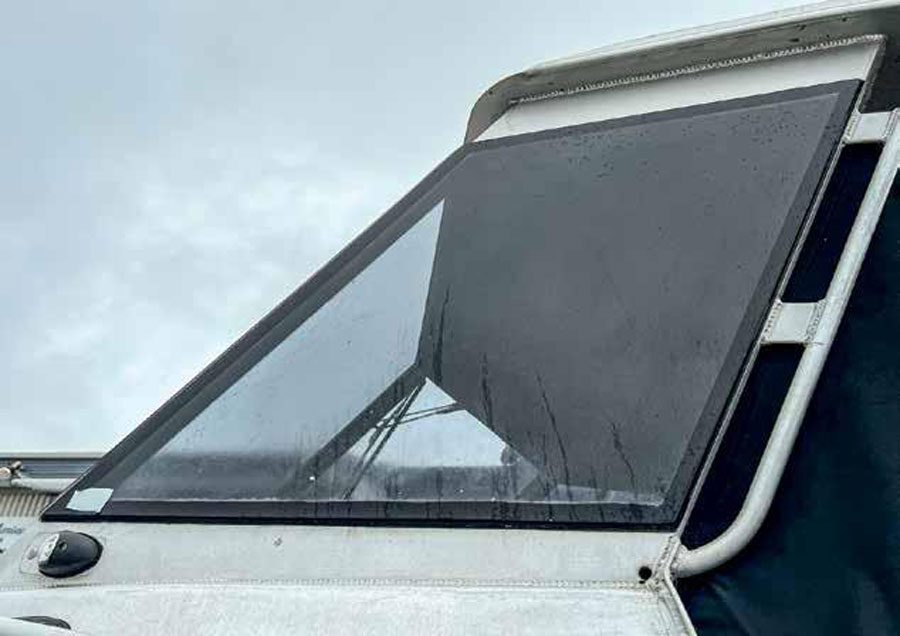
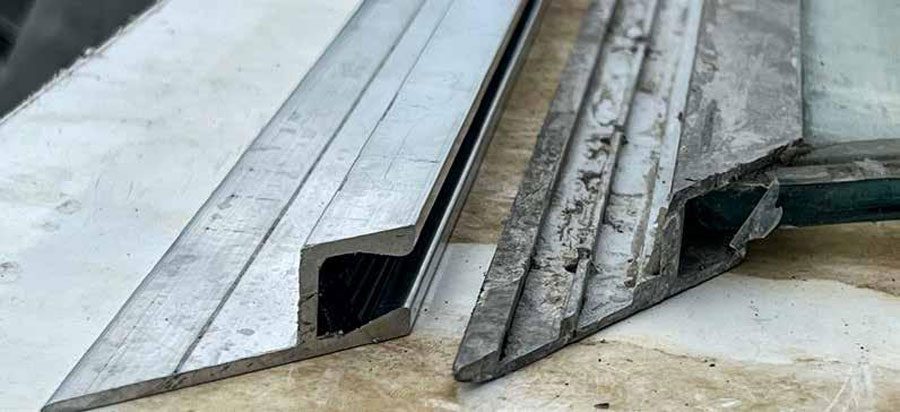
When cleaning up the hull we found that the original glass cleaned up well, although oysters leave a surprisingly tough residue on the glass that needed to be cleaned off with acid de-scaler and then hand-polished. The frames were, of course, beyond redemption, so I set about making new ones. And thereby came the first problem – the aluminium profile. It turns out these are proprietary, and there is no ‘standard’ boat window profile available from any of the aluminium manufacturers.
The companies that make marine windows in New Zealand will not sell the extrusion separately, and with a six-month waiting list for custom windows (plus the considerable cost associated with this option), I faced a problem. Although I could order a very similar profile off a supplier in the UK, the shipping costs and logistics associated with transporting long sections made this unviable.
After much searching online I found that what I needed was called a ‘baby-h’ profile, and this shape is also used to make large advertising signs. The display panels slot into the bottom of the ‘h’, while the upright part is used to attach the whole thing to a substrate. However, most panels are quite slender and hence the available sizes were too narrow to accommodate my 8mm thick armourplate glass.
Eventually I found an industrial brushware company that makes strip brushes that are used on warehouse doors. They sell the components separately, including the aluminium channel, and their largest size was almost the same dimensions as my original window. Of course, I will be fitting glass into the channel rather than the pre-formed strips of bristle they normally install. A quick trip out to Drury, and I had what I needed.
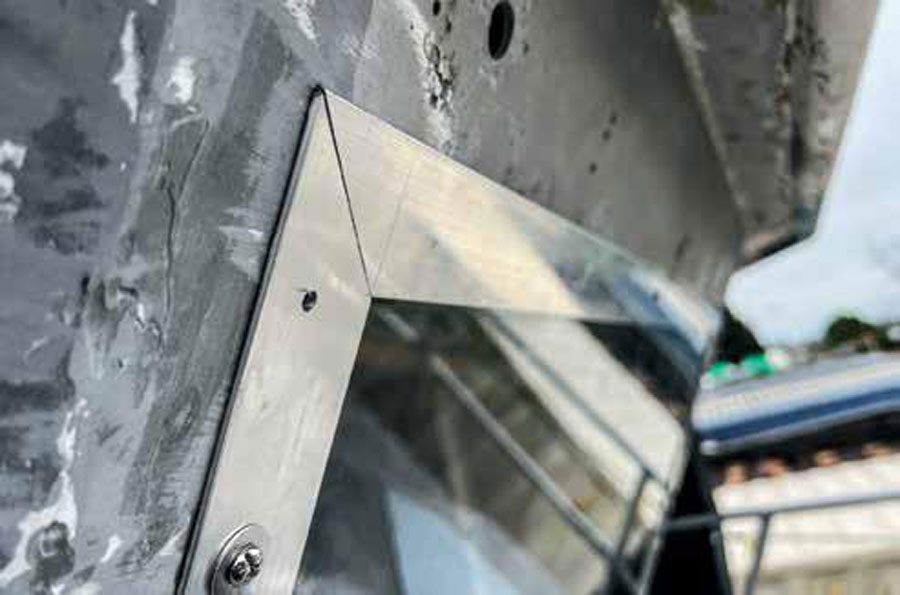
Some careful cutting of the extruded aluminium was needed to get the corner angles exactly right, which also involved a bit of trial and error to work out how much to allow for the glass sitting inside the channel. Luckily, I had plenty of extra length to play with, and after installing a rubber strip to cushion the glass, I was ready to refit the whole window.
At this point I had to decide whether to treat the aluminium. The most common options are having it anodised, which hardens (and optionally tints) the surface, or powder-coated, which bakes on a hard, coloured surface. In the end I elected to leave it untreated to match the unpainted aluminium cabin sides – it will soon fade to the same dull grey.
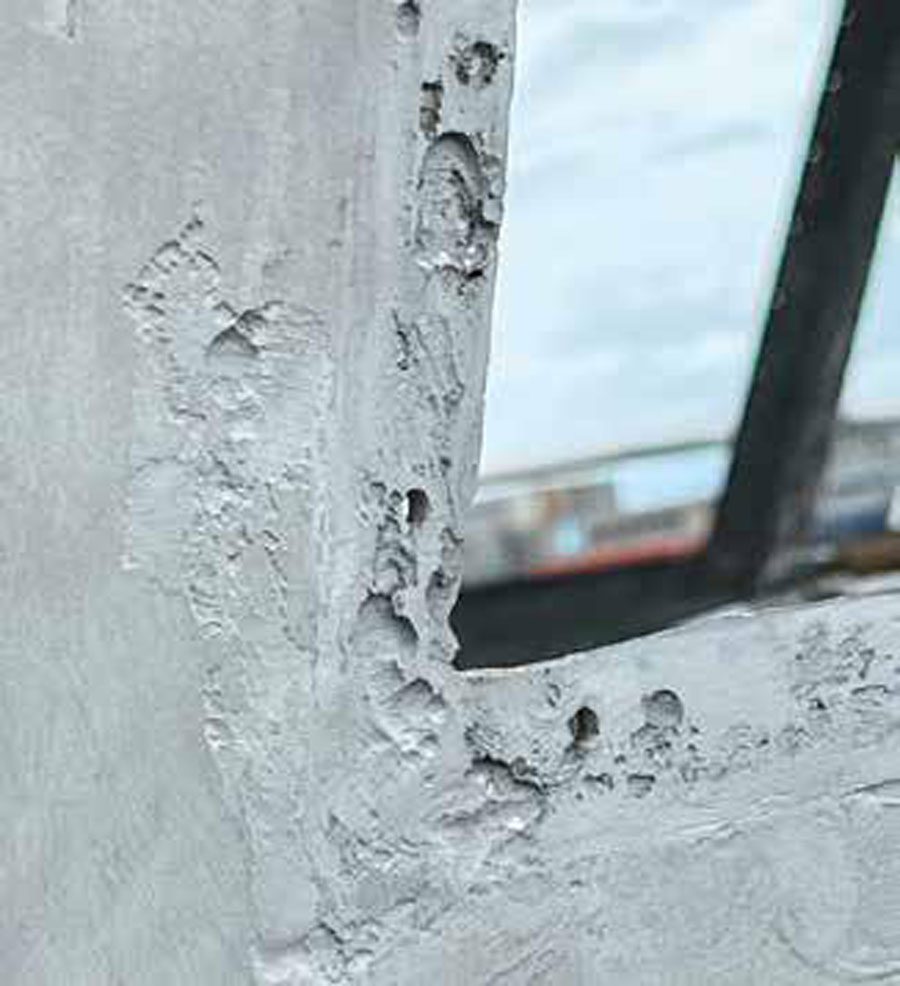
Because there had been a large amount of corrosion over the years between the original frame and the cabin sides, I first filled and faired these areas with a grey epoxy compound to create a smooth surface. This step was not totally necessary, as sealant would have filled the gaps anyway, but I wanted to ensure there were no voids to trap salt water and cause future corrosion problems.
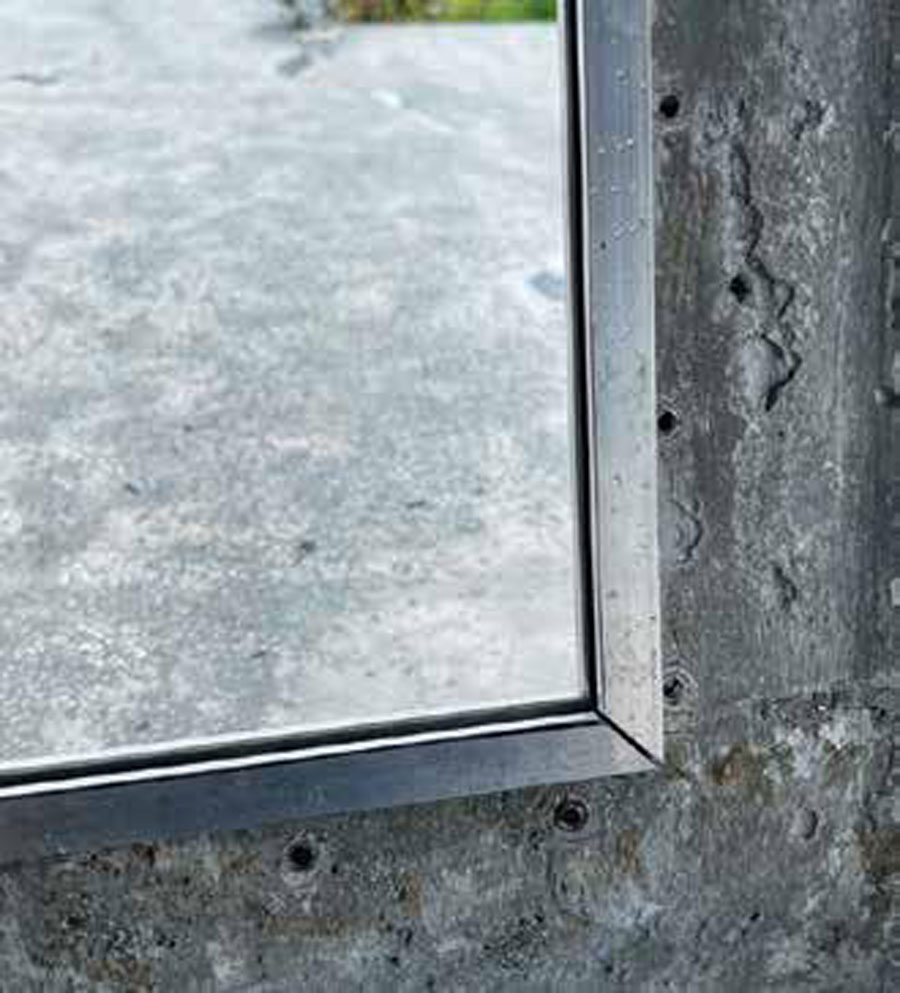
Prior to final installation I fitted the bottom piece of channel into the opening in the cabin and drilled the first of 54 bolt holes! A couple of bolts were loosely fitted, then I slotted the bottom edge of the glass into the channel. With a bit of fiddling the three remaining sides were slid onto the glass edge, and the whole assembly snugged into the opening.
Well, it was not quite as simple as that… Although I was fitting the window into the exact same opening it had come out of, the new channel was slightly thicker. Hence some trimming of the opening was required before the window would fit into place. In the process I discovered that whoever had cut the original opening had a warped view of what constituted a straight edge, so in the process I straightened the sides and also squared up one corner, which was a few millimetres out.
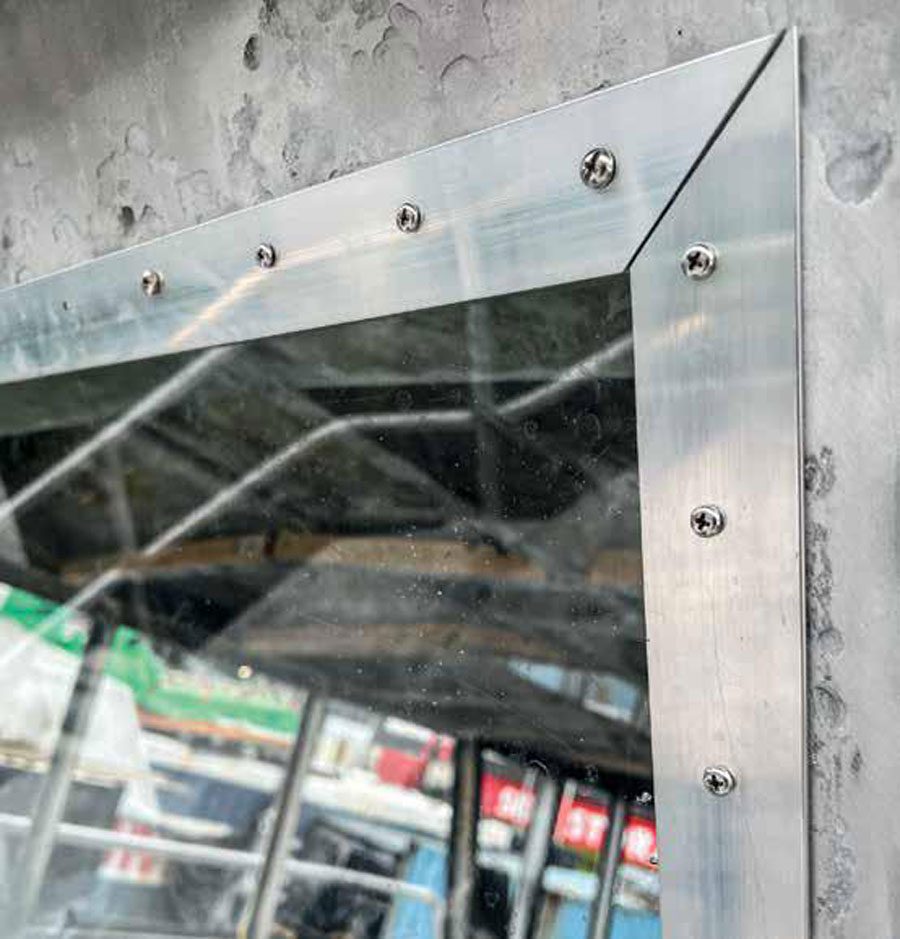
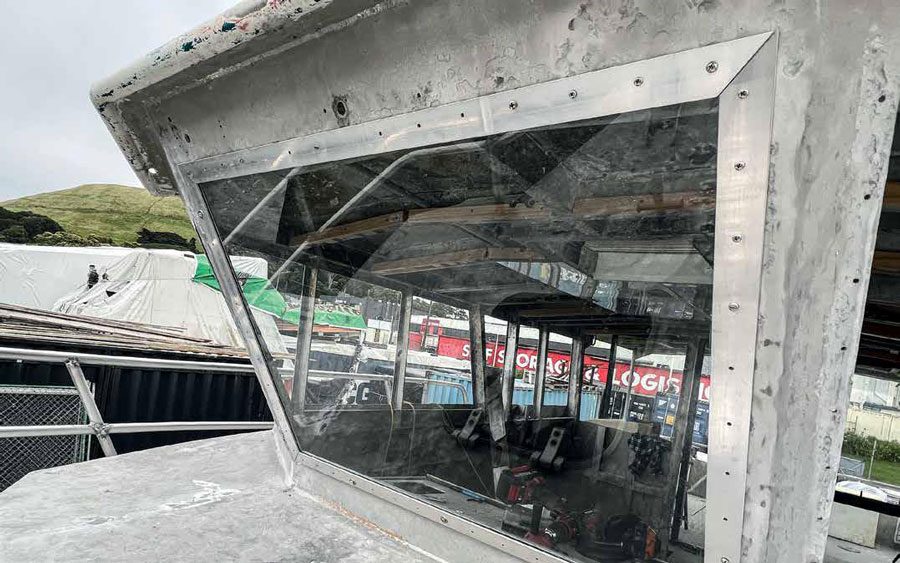
Now that the pane of glass with its framing was fitted into the opening, I held it in place with a couple of spring clamps while I drilled a few more bolt holes. After fitting two bolts on each of the four sides, I checked everything was snug and square and then spent an hour drilling all the remaining holes.
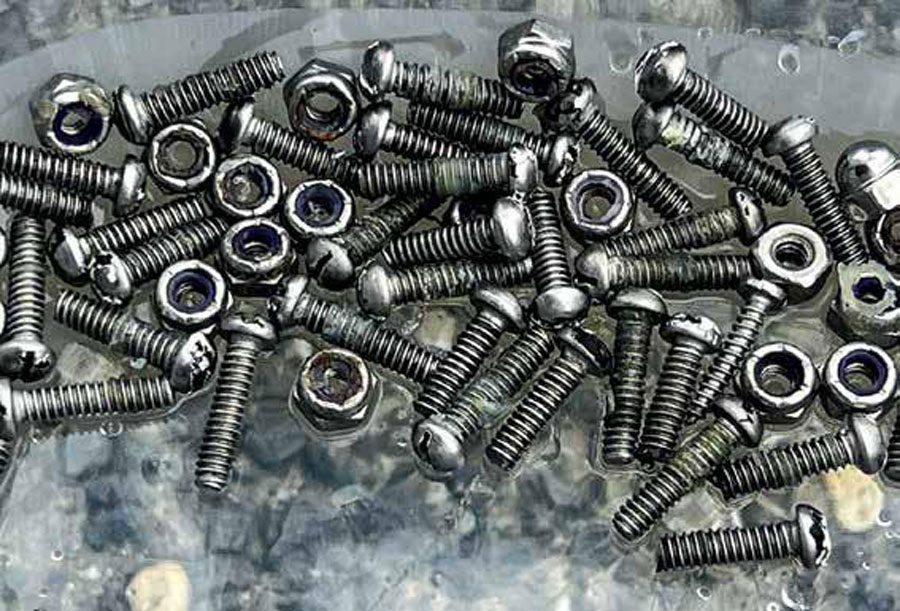
For the test fitment I had used some spare bolts from my toolkit. However, I was going to need close to 150 expensive stainless bolts for the three front windows. Luckily, I had chucked all the original bolts and nuts in a big bucket when I removed them, so I dug those out again. At first glance they looked irredeemable, but 15 minutes soaked in acid descaler and they were all shiny clean and reusable.
The last step was to take the whole window out again, clean everything with a degreaser, apply sealant and fit it all back again. I could have used either a clear or a grey sealer colour, but most brands of marine-grade window sealant are only available in black or white. Domestic silicone is never a good idea on a boat, so I sourced some Meicon Flex 310M sealant from Reptech. This comes in an aluminium-coloured shade of grey and was used both inside the channel to seal the glass, and between the channel and cabin sides to make the entire fitting watertight.
That is the main window done – next the two side panes, which I hope will happen in the next week or so. After that I can tackle the acrylic side windows. BNZ


