It is crucial for anglers to understand that soft-baits are made from different materials and often require specifically designed jig-heads to maximize their effectiveness. And if the subtleties of various rigging techniques are also known, so much the better…
Which products go together?
First, check out the composition of the soft-baits you plan to use. If it’s a Gulp! product, the soft-bait will be relatively dense and firm to the touch. Jig-heads fitted with small ribs along the shank are better suited to these more solid soft-baits as they can be pushed on more easily.
However, although made from quite a dense material, Gulps are relatively fragile, so the jig-heads’ hook is best threaded through the centre, as they are easily ripped when rigged in other ways. (See Diagram Sequence 1 on how to rig Gulps, along with other soft-baits lacking a ‘belly slit’ [i.e. the example used in the photo sequence].)
Also, because Gulp! products are not very compressible, it pays to choose a jig-head with a hook size that’s a bit bigger than those used with stretchy soft-baits. Otherwise, the hook’s gape is effectively obstructed by the firm tail, so hook-ups are less secure, meaning fish could rip off during the fight.

Photo Sequence 1


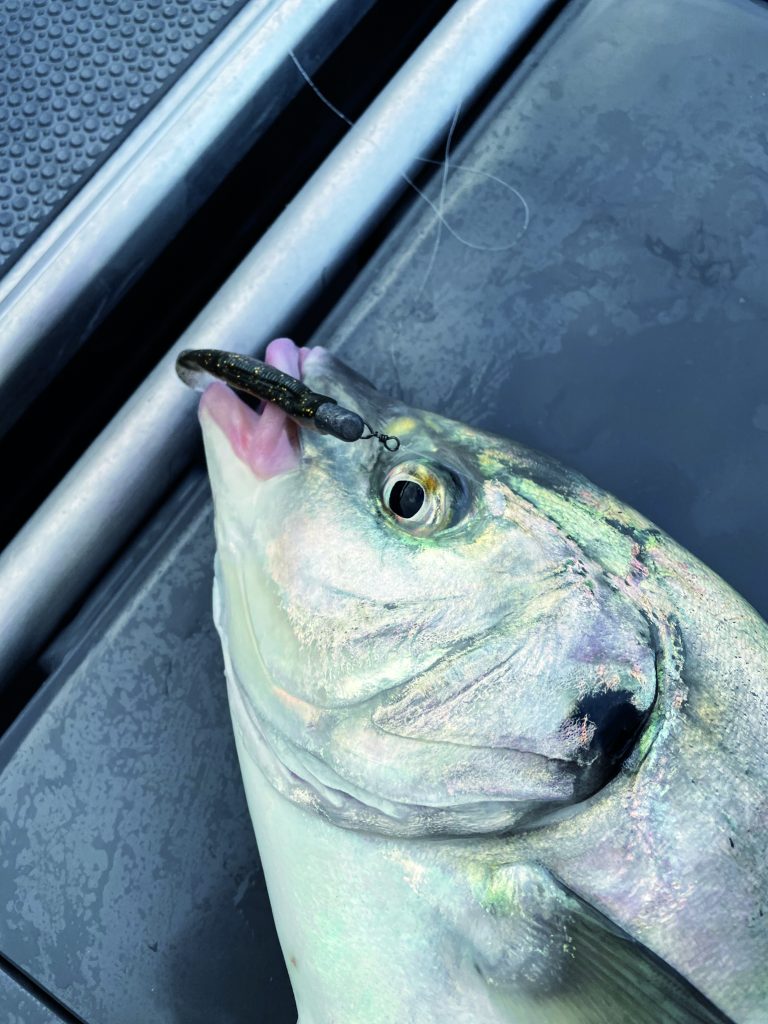
Pic 1: This is obviously not a Gulp!, because they are rather messy to handle and photograph. This image shows two small ribbed jig-head options: a heavily-weighted, articulated rig for deepwater fishing and another much lighter one for the shallows.
First, place the hook alongside the soft-bait and make a mental note of where the hook point should emerge. (When learning, you might even make a dot with a permanent marker pen.)
Pic 2 and 3: Take care to place the hook’s point in the exact middle of the tail’s circumference before pushing the tail along the shank.
Pic 4: Emerge the hook point; if the soft-bait does not sit straight afterwards, have another go until it does; otherwise, the lure’s action will not be attractive.

The other two popular soft-bait brands, Z-Man and Bait Junkie, are a lot more elastic and supple, although they are made from very different materials to one another.
They are also reasonably durable, with Z-Mans typically lasting anywhere from six to 20 fish per tail and Bait Junkies just a little less. Although Z-Man and Bait Junkie soft-baits are versatile when it comes to rigging due to their toughness, their elasticity makes them unsuitable for small-ribbed jig heads as fish dislodge them easily. Jigheads fitted with large ribs or barbs are a far better companion. As for hook size, these soft-bait types are easily squashed, especially if they have a belly slit, so you can use the smallest hook that clears the soft-bait and is strong enough to withstand the reel’s drag pressure.
Photo sequence 2


Pic 1: Get an idea as to where the hook should emerge along the soft-bait tail’s length.
Pic 2: Ensure the hook point is placed exactly in the middle of the tail’s circumference.
Pic 3: Feed the soft-bait along the hook’s shank; the hook should emerge into the belly slit. Make sure it’s perfectly centred.
Pic 4: Continue pushing the tail on until it’s snug up against the jig-head.
Pic 5: Spin the tail around 180o; estimate where the hook should emerge.
Pic 6: If you have guessed right, it should look nice and straight like this.

There is still a place for ‘worm hooks’; they are especially useful when fishing in rocky, weedy areas, as they are streamlined, and the hook tip can be nipped lightly into the lure’s body if desired to make it even more snag-proof.
Photo sequence 3


Pic 1: Line the hook up against the lure to see where the hook should emerge.
Pic 2: Place the hook centrally into the tail’s circumference, slip it along for a few centimetres before ducking back out again in the ‘chin’ area. The distance should be a similar amount to the short section behind the hook’s eye.
Pic 3: Slide the ‘nipped’ tail right along the hook to the eye, then rotate 180o. The nipped section should snug in nicely before the right-angled bend.
Pic 4: Push the hook through the tail, ensuring that the tail stays straight.
Pic 5: A worthwhile option involves wrapping a strand of copper wire around the tail’s head to make it harder for fish to dislodge.
Interestingly, although I no longer use the above technique much these days, I’ve adopted the concept to help increase the effectiveness of my micro-baiting. Smaller, slimmer softbaits are particularly compatible with jig-heads with light hooks and metal tangs, properties that enhance their effectiveness in attracting fish.
Worm-hooking these small soft-baits results in less damage to the lure and the hook point ends up much closer to the soft-bait, making it more likely to be eaten along with the lure.
Photo sequence 4


Pic 1-5: Follow a similar path to the worm-hook process mentioned above, but this time we’re aiming to have the ‘nipped’ section held in place by the metal tang welded in place. Don’t worry about the slight angle created by the hook shank running along the soft-bait’s belly – the fish sure don’t care! Also note the small shrimp-type soft-bait shown below the ‘anchovy’ imitation – it’s another killer you should try!